
Recipe 29 : Creating a Fake Knife
- Koji Ohmura
- Jun 9
- 5 min read
Sometimes when you are on a film set, you do not want to use real weapons due to safety. Or you do not want to use smelly items such as fish, meat, skulls, or even body parts like severed hands. In this recipe, I show you how to make dummy prop items.

You do not want the lamb meat to start getting smelly and moldy after 8 hours at room temperature.
Materials you need...
Prop Item you want to make a copy of.
Silicone (Body Double Fast)
Plaster Bandage
Old Silicone Mold (Platinum Cure) as a base
99% Alcohol
Mixing Cup
Mixing Stick
Non Latex Gloves
Water
Bucket
Vaseline
Marker
Razer Blade
Chip Brush
Urethane Parfilm
C-Clamp
Smooth Cast 300Q
Metal Powder
Injector
Masking Tape
Black Spray
Crystal Clear
Metallic Spray
(Optional) Alumaluster & Airbrush for the best result
Material links are here.


Lesson Video


Mold Making
Most of the prop items do not need it unless they are wet or sticky. This time, I am molding a kitchen knife. (If you mold fish or meat, wipe off all liquid well and mold it quickly before it gets slimy. Dulling Spray sometimes helps... sometimes.)
In order to cut costs, I like to use old platinum silicone molds as a base. Body Double will stick to this if the mold is cleaned with alcohol. Do not use tin cure silicone. Body Double is platinum silicone and will not set up on tin cure silicone.

Mixing A & B Body Double Fast. Body Double - Body Double Fast comes with 2 components: A and B. I measure them out, and the mix ratio is 1:1. Wear non latex gloves and mix it well.
I put a thin layer of silicone on one side of the knife and the old silicone mold.

Body Double on both a knife and a flat silicone mold. After the surface is covered, I press down the knife onto the flat mold.
Then, I covered the top side and filled any gaps. (The knife is sharp, so please be careful.)

Press down the knife. 
Cover it entirely. Let the first layer cure and mix another batch of silicone.
Pour the silicone onto the mold and maintain an even thickness.
Before it sets up, trim an old silicone mold into a small block. This will be a key, and place it in the center of the top layer.

Keep even thickness. 
Adding a key for a plaster shell. Plaster Bandage - After the silicone is cured, plaster bandage will go over this. Plaster bandage activates when it is wet.
Dip 3 layers of plaster bandages in a bucket of water, and squeeze them well. Press them down on the top half of the silicone. Do not pass the halfway line. Especially if there are undercuts in the silicone mold, it will not come off easily from the plaster shell.

Plaster Bandage I added two more layers over the first plaster bandages.
Once the plaster gets hard, brush Vaseline on the edge of the plaster shell.
Flip the mold upside down. Then, add 5 more layers of plaster bandages. These layers can go a little over the edge of the other side. Keep the silicone near the knife handle open. This is where I pour resin for duplicating the knife.

Flip it upside down and repeat the other side. With a marker, make registration marks. These marks will guide you when you close the mold again.

The registration marks

Opening Mold
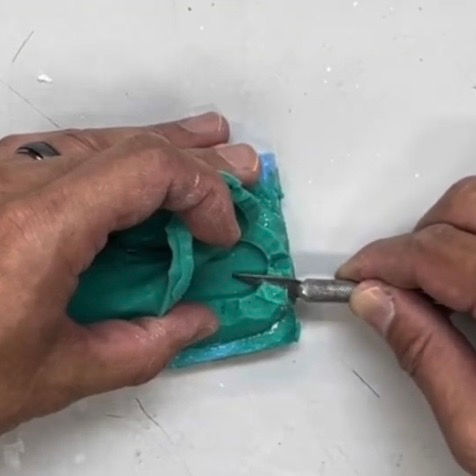
Remove the plaster shell from the silicone mold.
Use a razor blade to make a cut on the silicone mold. When you make a slice, use a wavy motion to create a zigzag line. This will be a puzzle key, and the silicone will know where it meets.

Zigzag cut. I only sliced one side and kept the other side attached. This will make it easier to let the silicone stay in shape and close correctly.
Remove the prop knife out from the mold.

Remove the real knife carefully. On the side of the knife handle area, make a slice and create two tunnels. One will be where the resin goes in. The other one will be the mold to burp when the resin goes out.
Clean the silicone mold with 99% alcohol. I brushed Vaseline on the plaster shells. This will make the silicone slide in smoothly.
Duplicating a Knife
I spray Urethane Parfilm on the inside of the silicone mold.
Put the mold shell together and make sure it fits perfectly.
Use C-Clamps to close it tightly. Since the resin I cast in this mold is in liquid form, you do not want any leakage. The two holes I made in the last step will face upward.
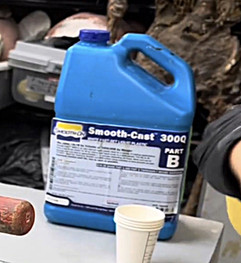
Smooth Cast 300Q - For resin, I use Smooth Cast 300Q. It sets up within 5 minutes. Measure it out in a 1:1 ratio of A and B. You can tint it or add some metal powder if you like.
Mix them together and quickly pour it into an injector which is placed in an injector hole.

Injecting Smooth Cast 300Q Push it in until the other hole starts showing burping bubbles.
When it stops burping and keeps draining the resin liquid, stop injecting.
Tap the mold with a finger and let the bubbles come out more.
It turns white once it sets up. Wait for 30 minutes.
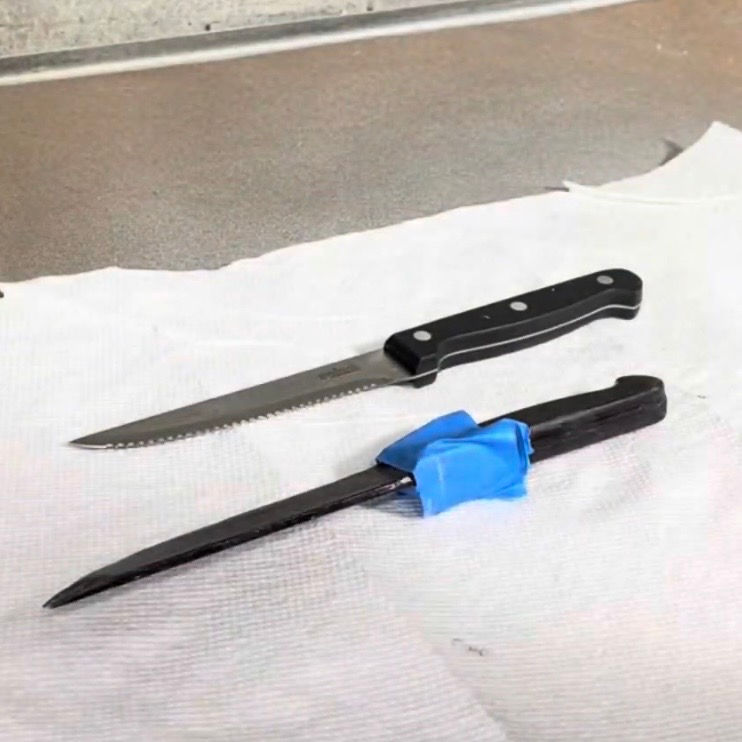
Slowly open the mold and remove the fake knife. Be careful not to cut your finger.

Painting
Trim the seam and smooth it out if there is any.
Clean it with 99% alcohol.
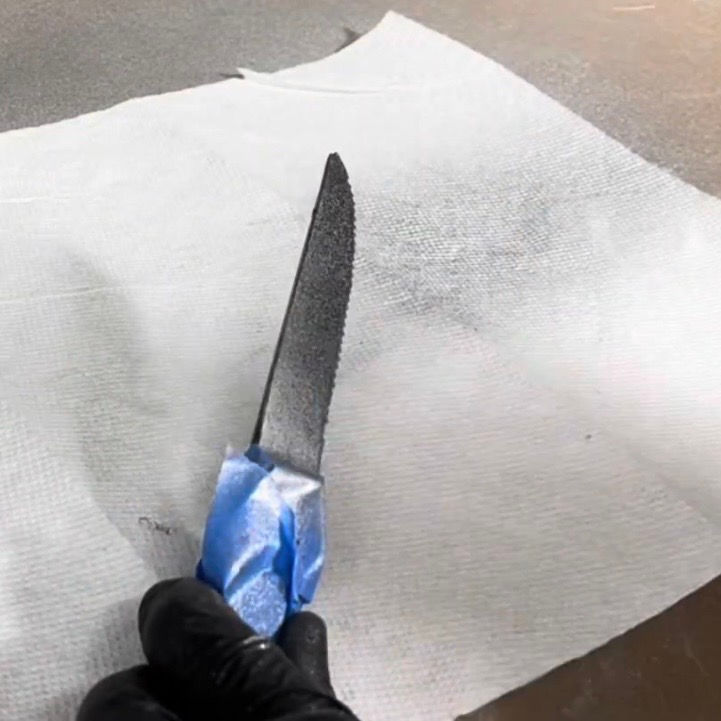
Black Paint - Spray black paint all over the knife.
After it dries, use masking tape to cover the handle.
After black paint. Crystal Clear - Spray Crystal Clear to make it shiny. Let it dry.
Metallic Paint - Then, spray metallic paint little by little. It does not need to be sprayed completely. Since black shows up when you move, it creates an illusion of reflecting the lights as it moves.
Spraying metallic paint. After it dries, hand paint metallic paint on the handle to match the real one.
Alumaluster - (Optional) For the best result, you can try Imperial Surfaces' Alumaluster. It is very expensive, but it looks like real metal. Use an airbrush to paint. Clean the airbrush with acetone.

At the filming set, dummy props are very important, not just for safety but also for sanitation, costs, and continuity. If you need an expensive prop such as jewelry and stunt scenes, you will need to duplicate them so you have backups. This prop knife I made is breakable and flexible, so when they have a fighting scene, it will not hurt the actors.

Featured Items


DISCLAIMER: Links included on this page might be affiliate links. If you purchase a product with the links that I provide, I may receive a small commission. There is no additional charge to you! Thank you for supporting me so I can continue to provide you with FREE content each week!

Comments