
Making Blood Tubing
Updated: Aug 31
Do you want to create a prosthetic with blood coming out from inside? When it goes well, everyone's reaction is priceless. "Wow!!!" "Eww!!" "How did you do that!?" In this recipe, I will show you how to create blood tubing (A.K.A. bladder) with medical tape.

This method is pretty easy and quick. You will just need medical tape and steady hands...
Materials you need...
Opsite Medical Tape
Tube (for extra length)
Telesis glue
Pro Poxy20
Prosthetics
Reference Book
Lid of Plastic container
T-pin
Sand Paper
Super Glue
Pro Poxy 20
Prop Knife (Recipe 29)
Material links are here.


Lesson Video
Bladder
Before making the bladder (blood tubing), it is better to decide on the position of the blood coming out from the prosthetic you prepared. In this video, I am using a round skin prosthetic to cover the bladder and a small cut prosthetic.

Silicone round skin and a cut prosthetic This particular prosthetic will need at least 5 inches of bladder. Then, I will add regular tubing on the end tip to make it longer.
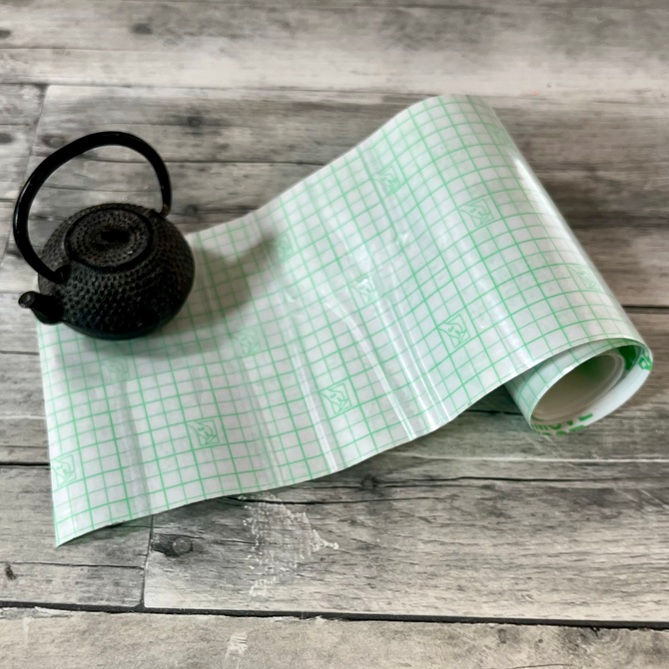
Opsite Tape - Opsite tape is a medical tape. Normally, it is used for tattoos and fresh injuries. I trimmed it to 7 inches long. You will need 2 of these.

Opsite is a flexible medical tape. Then, I cut these into 2 parts vertically: 1/3 width and 2/3 width. Please check the picture below.

Cut it in2 pieces. Pick the 1/3 width Opsite tape, and place a tube on the end of the tape. This will be a tunnel for blood to go through. Make a registration mark with a pen and trim it. Do the same on the other 1/3 width tape. Trim them both on the mark I drew. Also, trim the tip to be rounded as well.

Creating a tunnel for a tube. 
Trim the registration mark. Then, peel off the white sheets from both the 2/3 width tape and the 1/3 width tape. Place the 1/3 width tape in the center of the 2/3 width tape. Repeat the same process on the other set of tape. You might want to put weights on the tip of the tape so it does not stick to your finger and keep lifting.

Watch out for lifting and curling up. Remove the green grid protective sheet from 1/3 width tape. Do the same on the other set. Place a tube on the end of the tunnel. Then, make a sandwich of the tape. Be mindful to push air bubbles out as you tape them together. Blood likes to find any air bubbles and push out. You do not want a leakage.

Peel the green grid sheet. 
Place a tube. 
Make a sandwich. After checking there are no air bubbles, peel off the green grid sheets from the 2/3 width tape.
I put another layer of Opsite tape around the vinyl tube in order to secure the contact. Then, blow air to see if there is no leakage.

Add an extra tape around the tube.



Prosthetics
Now you have a bladder. In order to get blood out of a prosthetic, you will need to create a hole at the tip. (You can also use this bladder as an air balloon if you want the prosthetic skin to swell like Nutty Professor. Just do not add a hole.)
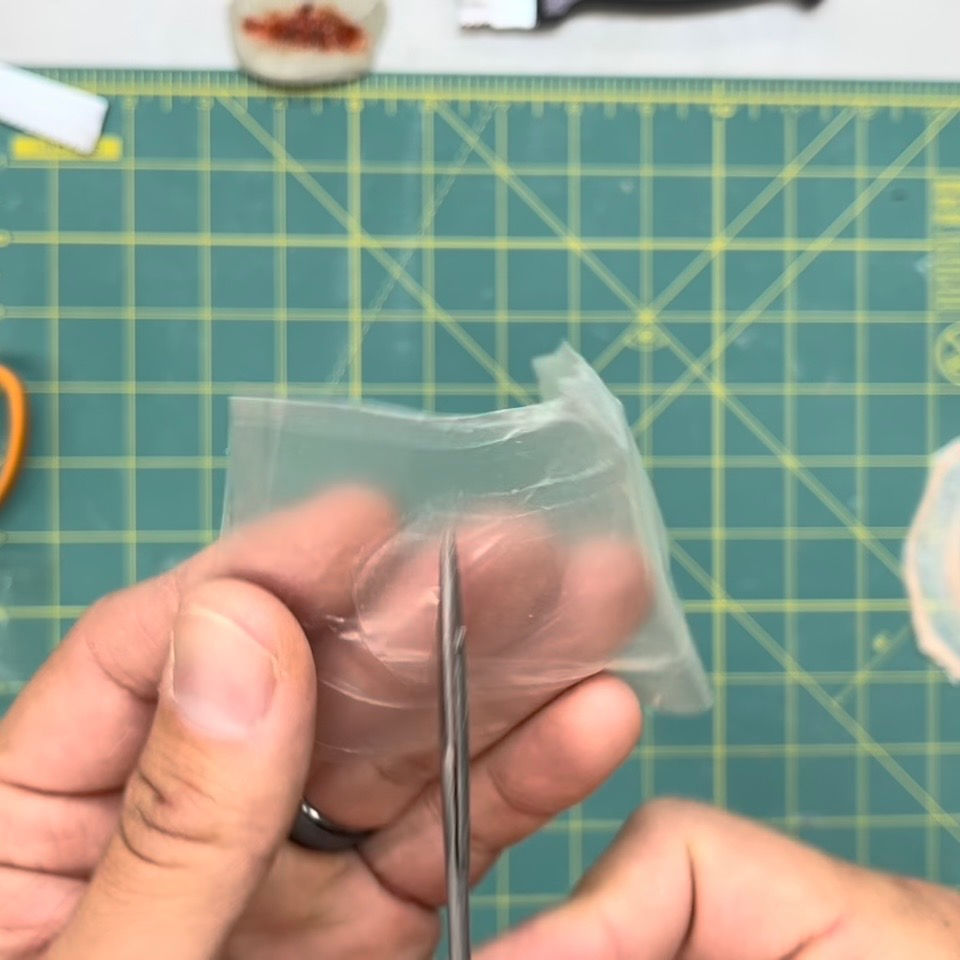
Only 1 layer. Do not cut all the way through. Make a slice on the tip for the blood to come out. Only slice the top side, not through to the bottom side. You do not want a leakage. I repeat this: "No Leakage!" You do not want a situation where blood does not come out from the prosthetic injury hole but instead comes out from the edge of the prosthetic. That would be an embarrassing moment.
Have a flat skin prosthetic ready. You can create this by following my recipe below. All you need is to create a big flat skin prosthetic.
Wipe the backside of a prosthetic with 99% alcohol. Then, make a slice in the area where you want the blood to come out.

Make a slice on the silicone skin. Add silicone glue, such as Telesis or SilcOne glue, to the area where you want to place a bladder. Avoid gluing the slice you made so it does not close the hole. Place the bladder on it, and press it down. Make sure both slices meet perfectly. Push air bubbles out as you press it.

Do not glue the slice. 
Push air bubbles out. I made another layer of Opsite tape and put it over the bladder to seal the edges. Be mindful not to go over the prosthetic edges.

Add extra strength. Flip the prosthetic upside down. I added a small injury prosthetic over the slice. If you design the exact shape of what you need, you can skip this step. Use silicone glue and stick it on. Use acetone to remove edges from the piece.
I cut the inside of the slice and open it more. This will help the blood to come out easily. It is better to blow air once in a while to check if the hole is not closed.

Acetone on prosthetic edge. 
Make sure blood comes out well.
Prop Knife Placement
You got a prosthetic with a bladder attached. Now, you will need a prop knife. This effect I am making is "a knife stuck in my arm... I tried to remove it. Then, a gush of blood comes out from my arm!" So I need a small stand to support a prop knife. The prop knife-making recipe is on the button below.
I have a lid of a plastic container and a T-pin. I recommend a flexible lid. Then, create the outline of a 2-inch long oval plate which can support the T-pin. Trim the outline of the lid. Sand the surface with sandpaper.
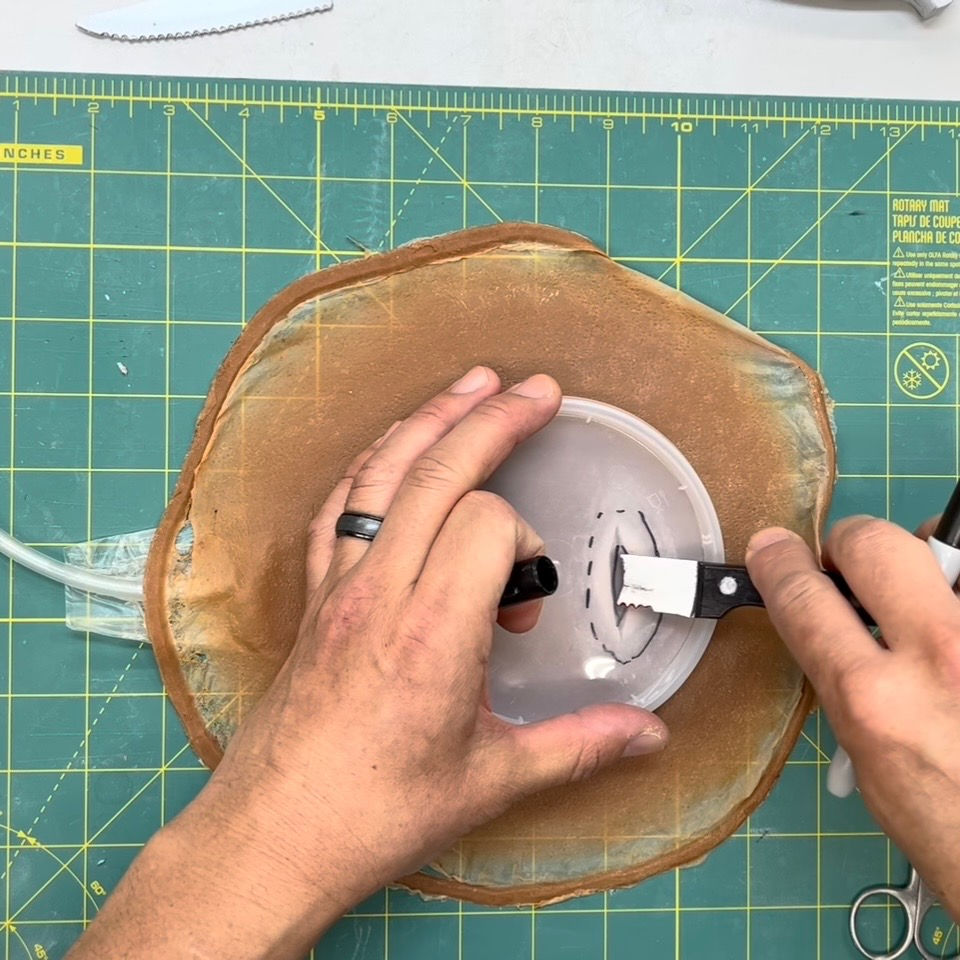
Checking sizes for a plate. 
Create a rough texture on the top side. Next, use pliers to flatten the "T" part of the T-pin. Use super glue to attach this onto the oval plate from above. Zip Kicker will help the glue to speed things up.

Make it flat. 
Place the T-pin with super glue. Then, take a small amount of Pro Poxy 20 and mix the black and white parts. It will get hard after 20 minutes. Apply this to the connection of the T-pin and the oval plate. Use 99% alcohol to smooth the surface.

Pro Poxy 20 on the T-pin to secure the connection. Once it is set, I place this on the backside of the prosthetic and poke through where the injury prosthetic is. Use silicone glue to attach this, followed by Opsite tape over it.

Attach the T-pin stand on the sliced area. The prop knife has a tiny hole where this T-pin will go in. Before applying this prosthetic, it is a good idea to test if it fits well. That's it!

Checking the placement.
Making bladders was a lot of work before Opsite tape was introduced. I used to use liquid latex for bladder making. (I still use it for high-pressure blood gig.) Now, with this Opsite technique, I can make it within 10 minutes. Opsite tape is a must-have item in your kit.
Next, the recipe will be applying this bladder prosthetic and pumping the blood! Stay tuned!

Featured Items


DISCLAIMER: Links included on this page might be affiliate links. If you purchase a product with the links that I provide, I may receive a small commission. There is no additional charge to you! Thank you for supporting me so I can continue to provide you with FREE content each week!


This is a pretty good article.